4) setting the volume level, 5) high frequency adjustments, 6) mid-range boost – M-AUDIO EX66 User Manual
Page 8: 7) low cutoff switch
8
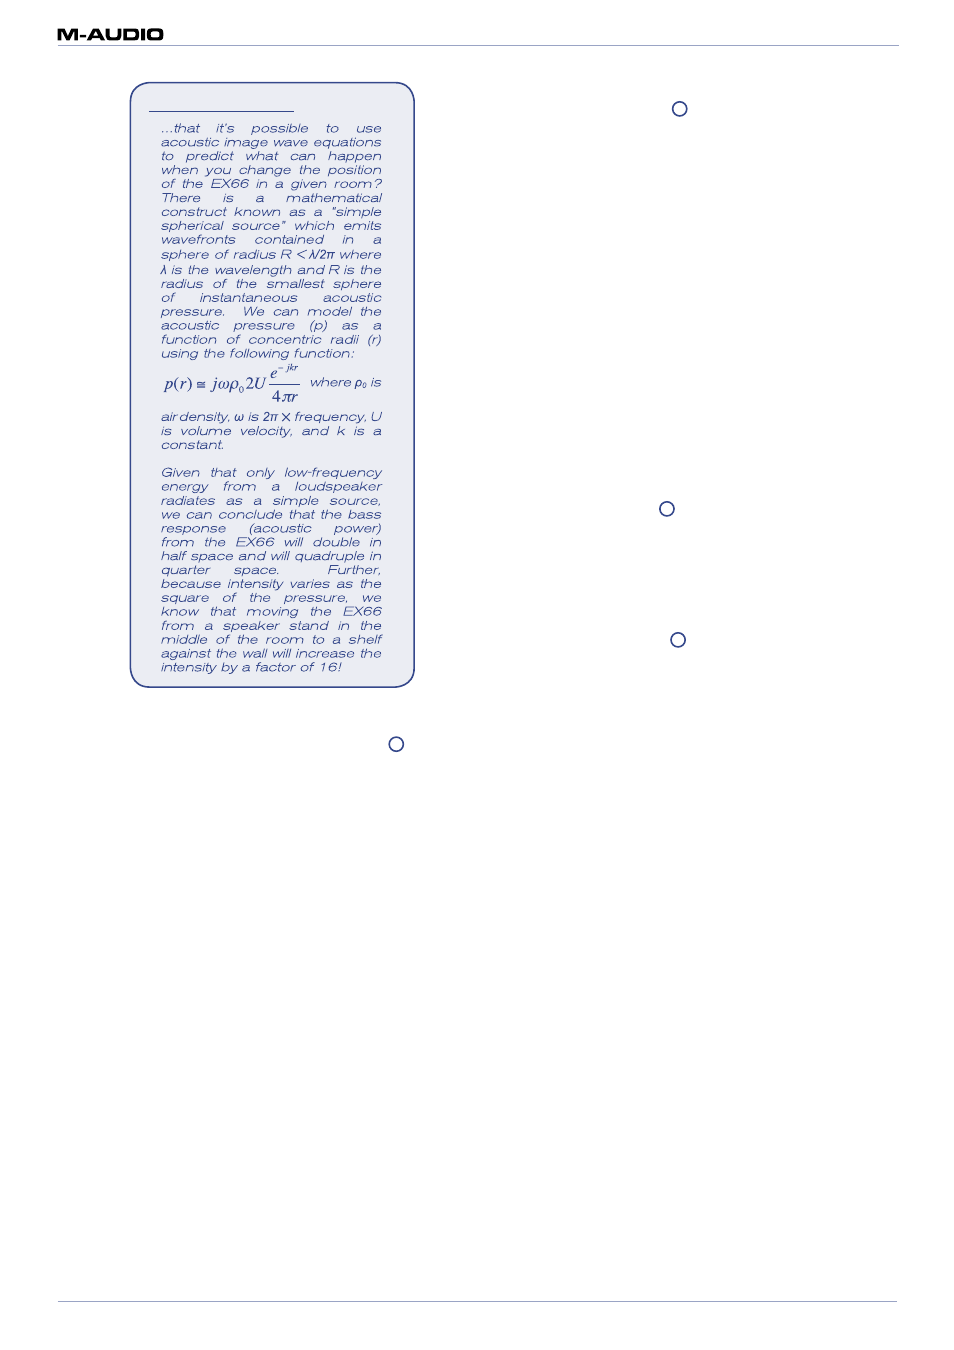
Did You Know?
4) Setting the Volume Level
The EX66 contains a calibrated Volume knob
��
(which is
actually an input trim). For your convenience, we’ve marked
a reference level of “0”—the setting at which a -10dBV pink-
noise input signal yields 90dB SPL (c-weighted) at 1 meter from
the front baffle. If your driving the EX66 with a hotter signal
(e.g., +4 dBu level), you may wish to turn down the Volume knob
(perhaps close to the -13 mark).
We recommend you play a stereo pink-noise signal through
your EX66 monitors and measure the output of each speaker
using a sound pressure level meter (using a c-weighting filter).
This will give you objective criteria with which to match the
levels. Alternatively, if you know that each EX66 monitor is in
the same acoustic environment (considering relative distances
to reflective surfaces), you can simply turn the Volume knob all
the way up on each monitor and feel confident that the levels
are closely matched.
By the way, in case you were wondering, the Volume control
adjusts the level in the analog domain (prior to the digital
conversion), so it does not deteriorate the full digital dynamic
range.
5) High Frequency Adjustments
The High Freq switch
��
allows you to make your EX66
monitors sound more “bright” or more “dark,” depending on
your preference. Technically speaking, the three-position switch
activates a gain/attenuation circuit in the tweeter channel. It
offers 2dB of boost or cut starting at the 2.56kHz crossover
point—similar in concept to the high-frequency adjustment
function found in the classic BBC monitors.
We recommend you start with the High Freq setting of “flat” (or
0dB) as this provides the most natural high-frequency response,
other things being equal. If you are monitoring material requiring
extra attention to high-frequency details—as is often the case
when mixing orchestral music, for example—you may want
to experiment with setting the High Freq switch to the +2dB
position. (We recommend this setting for Pete Townshend as
well.) If you’re mixing a Maroon 5 record or a Bollywood film
score, you may find the -2dB setting more appropriate (unless
you want your ears to bleed).
Keep in mind that if your monitoring setup is too bright, your
mixes may end up sounding dull everywhere else; and of course,
in the reverse situation the opposite is true. When in doubt, use
the flat setting—it’s what is “most correct.”
6) Mid-Range Boost
The Mid-Range switch
��
offers a low-Q (wide bandwidth) 2dB
boost centered in the 1kHz to 2kHz range. Effectively, it brings
the image forward a bit and can be useful in examining timbral
details of lead instruments. Start by leaving this switch in the
“flat” (unaltered) position, but feel free to experiment with it to
see if you like the results.
7) Low Cutoff Switch
The Low Cutoff switch
��
allows you to adjust the bass roll-
off response of your EX66. It’s a high-pass filter with a 6th-
order Butterworth alignment (36dB/octave), and you can set the
corner frequency to 37Hz, 80Hz, or 100Hz. We recommend
you start with the filter all the way open (37Hz setting) and only
raise the cutoff frequency in order to protect the woofers at
low frequencies (i.e., to avoid problems of the voice coil hitting
the back plate).