Which one’s the alignment star, Etx tips, Using the guided tour – Meade Instruments ETX Premier Edition User Manual
Page 18: Go to saturn
Ti p
:
Try out the Guided
Tour feature; the “Tonight’s
Best” Guided Tour will
point your telescope at the
best objects visible in the
sky for every given night of
the year. The objects in
this tour may change from
night to night.
You can easily create your
own Guided Tour using the
optional Meade’s AutoStar
Suite software. See
PHOTOGRAPHY WITH
MEADE’S AUTOSTAR
SUITE,
page 41 for more
information.
18
Which One’s the Alignment Star?
If you’re not familiar with objects in the night sky, how can you be sure if the star
in your eyepiece is really the alignment star?
The rule of thumb is that an alignment star is usually the brightest star in that
area of the sky. If you perform a GO TO to an alignment star and you're not sure
if you have located the alignment star or it isn't in the eyepiece, look through your
smartfinder. When you view an alignment star in the SmartFinder, it stands out
dramatically from the rest of the stars in that portion of the sky. The SmartFinder
will help you locate a star more quickly than the eyepiece. Using AutoStar, set
the slew speed to 6 (press Number key 6) or higher and use the Arrow keys to
center the alignment star in the SmartFinder. If your SmartFinder has been
aligned with the telescope, the alignment star should now be in the eyepiece. Set
the slew speed to 4 or less and center the star in the eyepiece. Also see the
SPIRAL SEARCH
tip, page 17.
If you have an obstruction, such as a tree or a building blocking your view of the
alignment star or if you have any doubts at all about the star that has been cho-
sen, no problem. Just press the Scroll Down key and AutoStar will find another
star to align upon.
ETX TIPS
Note:
If you have an obstruction, such as a tree or a building blocking your view of
the alignment star, or if you have any doubts at all about the star that has been cho-
sen, no problem. Just press the Scroll Down key and AutoStar will find another star
to align upon.
7.
The telescope now slews to the second alignment star. AutoStar displays “Center
Brightest Star: Press ENTER” displays. Use the Arrow keys to center the alignment
star in the eyepiece. When the second alignment star is centered, press ENTER.
8. “Alignment successful” displays. If “Alignment Unsuccessful” displays, perform the
procedure over again.
9.
After you align the telescope, “Press “0” for Tour or MODE for menu” displays.
Using the Guided Tour
This example demonstrates using “Tonight’s Best” Guided Tour.
1. After Automatic Alignment, “Press “0” for Tour or MODE for menu” displays.
2. Press "0." “Guided Tour: Tonight’s Best” displays. Press ENTER.
Note:
If you wish to try out other Guided Tours, press the Scroll Down key
to scroll through other tour choices. When the tour you wish to select dis-
plays, press ENTER.
3. “Tonight’s Best: Searching...” displays. After calculating, “Tonight’s Best: Jupiter”
displays.
Note
: Different objects may be displayed on a tour list on any given night.
Tour objects are selected based on location’s time and date.
Press ENTER to display information about the object. Press GO TO to move the
telescope to the object.
4. Press MODE to return to the Tour list. Press the Scroll keys to scroll through the
list. Press ENTER when you find the next object you wish to observe.
5. Press and hold down MODE for two seconds to leave the Guided Tour menu.
Go To Saturn
After performing the Automatic Alignment procedure, the motor drive begins
operating and the telescope is aligned for a night of viewing. Objects in the eyepiece
will maintain their position even though the Earth is rotating beneath the stars.
This exercise demonstrates how to select a celestial object, the planet Saturn, for
viewing from AutoStar’s database.
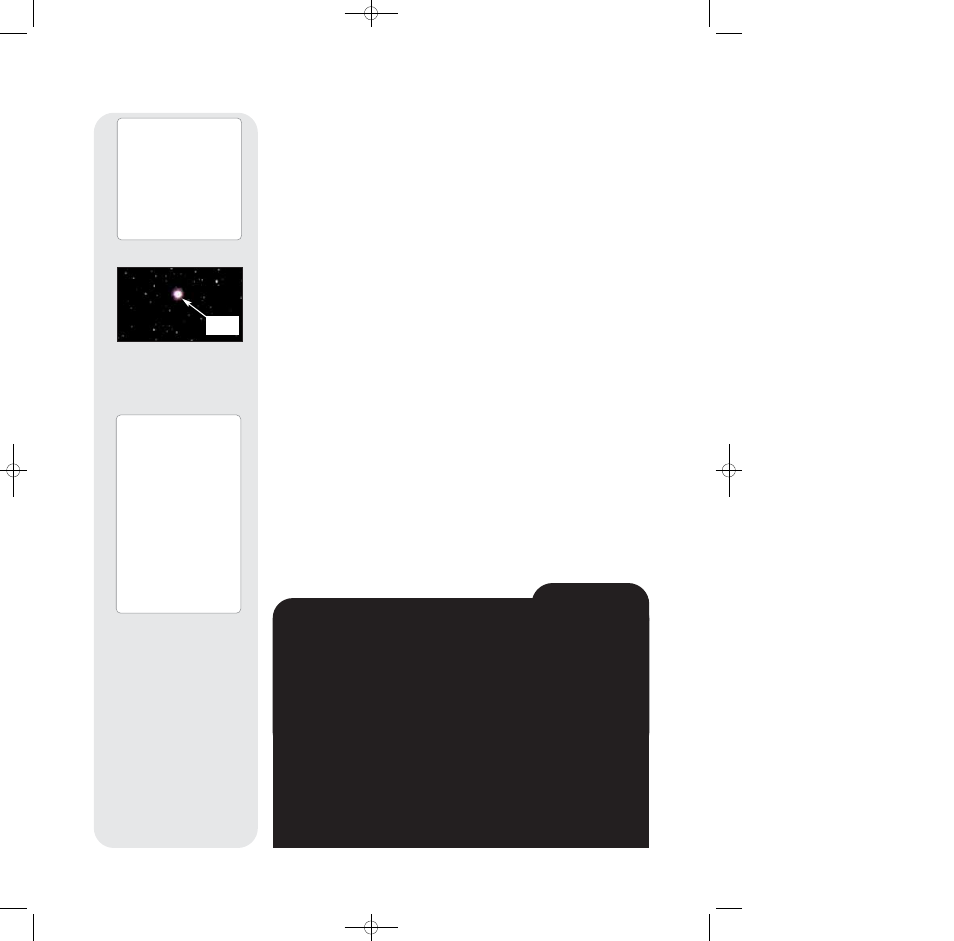
Fig. 25: During alignment, the
alignment star is always the
brightest star in the area of
the sky at which the
telescope is pointing.
Alignment
Star
Important Note:
The first time you use your
telescope or if you are
experiencing any problems
with pointing accuracy,
follow the procedure
described in
APPENDIX C:
TRAINING THE DRIVE
,
page 55, to insure accurate
pointing and tracking.
Premium ETX_without 105.qxd 1/27/09 12:33 PM Page 18