Fingerboard to neck position marks – Grizzly H3098 User Manual
Page 11
H3098 Western Guitar Kit
-9-
The position mark holes have been predrilled into
the side of the fingerboard.
To install the position marks:
1.
Place a small drop of glue in each position
mark hole.
2.
Slide the end of the position mark stick into a
hole and use a sharp knife to cut it flush with
the fingerboard. Note—
Sand the position
marks flush with the fingerboard edge.
To attach the fingerboard to the neck:
1.
Using a straightedge, make sure the neck
and body surface are flush.
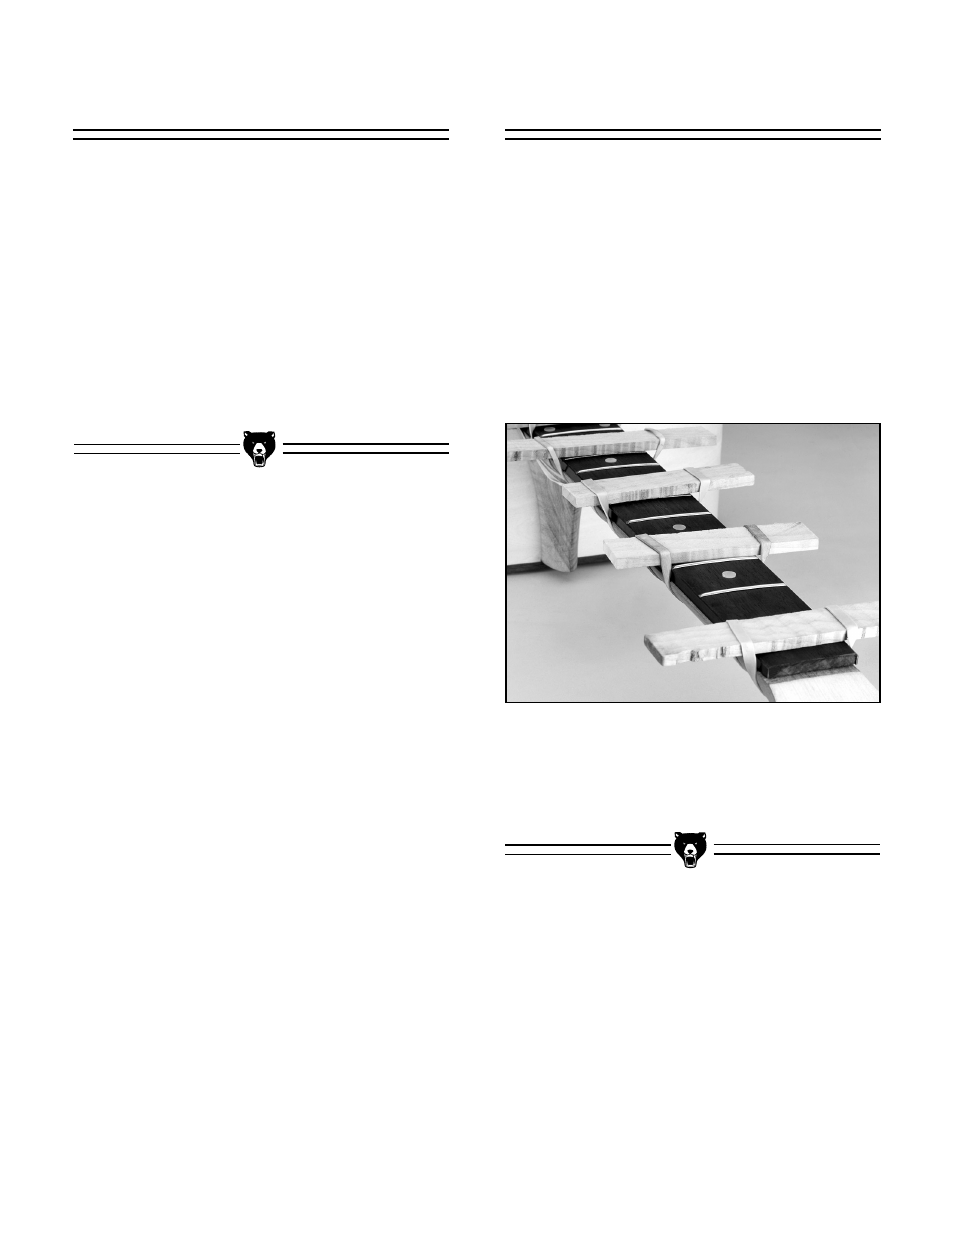
2.
Using rubber bands and small sticks of
wood, secure the fingerboard to the neck
with a thin, even layer of wood glue (
Figure
7
)
.
Note—
Make sure the fingerboard is cen-
tered across the width of the neck and that
the 14th fret is centered over the neck to
body joint.
3.
Using a file or sandpaper, make the edge of
the neck flush with the edge of the finger-
board.
Fingerboard to Neck
Position Marks
Figure 7.
Securing the fingerboard to the neck.