Positioning pick guard, control plate & bridge – Grizzly H8070 User Manual
Page 14
-12-
H8070 Heirloom Telecaster-Style Guitar Kit
Figure 13. Control plate fits into pick guard.
Positioning Pick
Guard, Control Plate
& Bridge
The following steps require you to mark the guitar
body. To avoid damaging the finish, place mask-
ing tape on the guitar body and gently mark the
tape.
In the following steps the bridge, control plate, and
pick guard will be installed temporarily to correctly
orient them.
Components and Hardware Needed:
Qty
Guitar Body and Neck (Assembled) .................. 1
Pick Guard ......................................................... 1
Control Plate ....................................................... 1
Bridge ................................................................ 1
To position the pick guard, control plate and
bridge:
1. Turn the guitar face up, thread the pick
guard pickup wires through the center cavity
(
Figure 13) into the control plate cavity, then
place the pick guard on the body.
2. Tuck the control plate wires into the control
plate cavity.
3. Place the control plate on the body so it fits
snugly into the curve on the pick guard as
shown in
Figure 13.
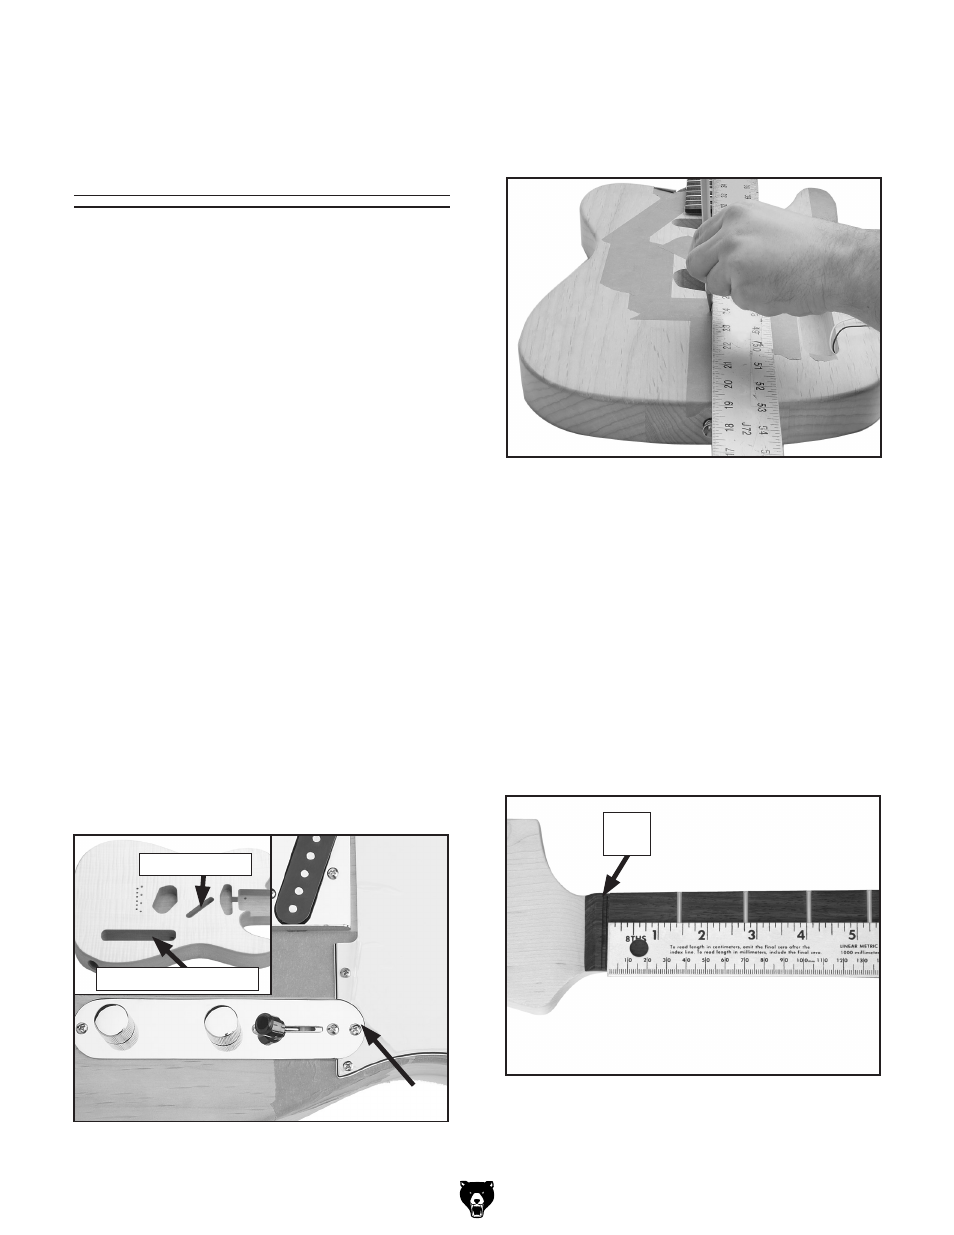
4. Place a 36" long straightedge over the center
of the fretboard inlays and over the bridge
cavity, then mark the center line on the guitar
body (
Figure 14).
5. Place a ruler across the body at several loca-
tions and mark the half-way point to double
check the center line location against the
mark in
Step 5.
Figure 14. Marking center line.
Figure 15. Measuring 25
1
/
2
" from nut along
center line.
Nut
Slot
6. Insert the bridge into the bridge cavity and
align the mounting holes.
7. Using the straightedge, measure 25
1
⁄
2
" from
the fretboard side of the nut slot (
Figure
15) along the center line to the bridge point
(
Figure 16), and mark this location on the
guitar.
Center Cavity
Control Plate Cavity