Garmin GMR 190-00669-02 User Manual
Page 10
8
GMR 404/406 Marine Radar Installation Instructions
Radar Setup
To take advantage of the GMR 404/406 features, the Garmin Marine Network may require a software update. A software update card is
provided in the Marine Data Management Kit.
The newly installed GMR 404 or 406 will not transmit until the radar is properly configured. Follow the instructions below to properly
configure the radar.
Turn on the Garmin Marine Network:
1. Press the
Power key on the chartplotter. The scanner turns on with the network. The Welcome Page appears showing that a GMR
404/406 is detected as a network connection.
2. When the
I Agree button turns yellow, press the ENTER key.
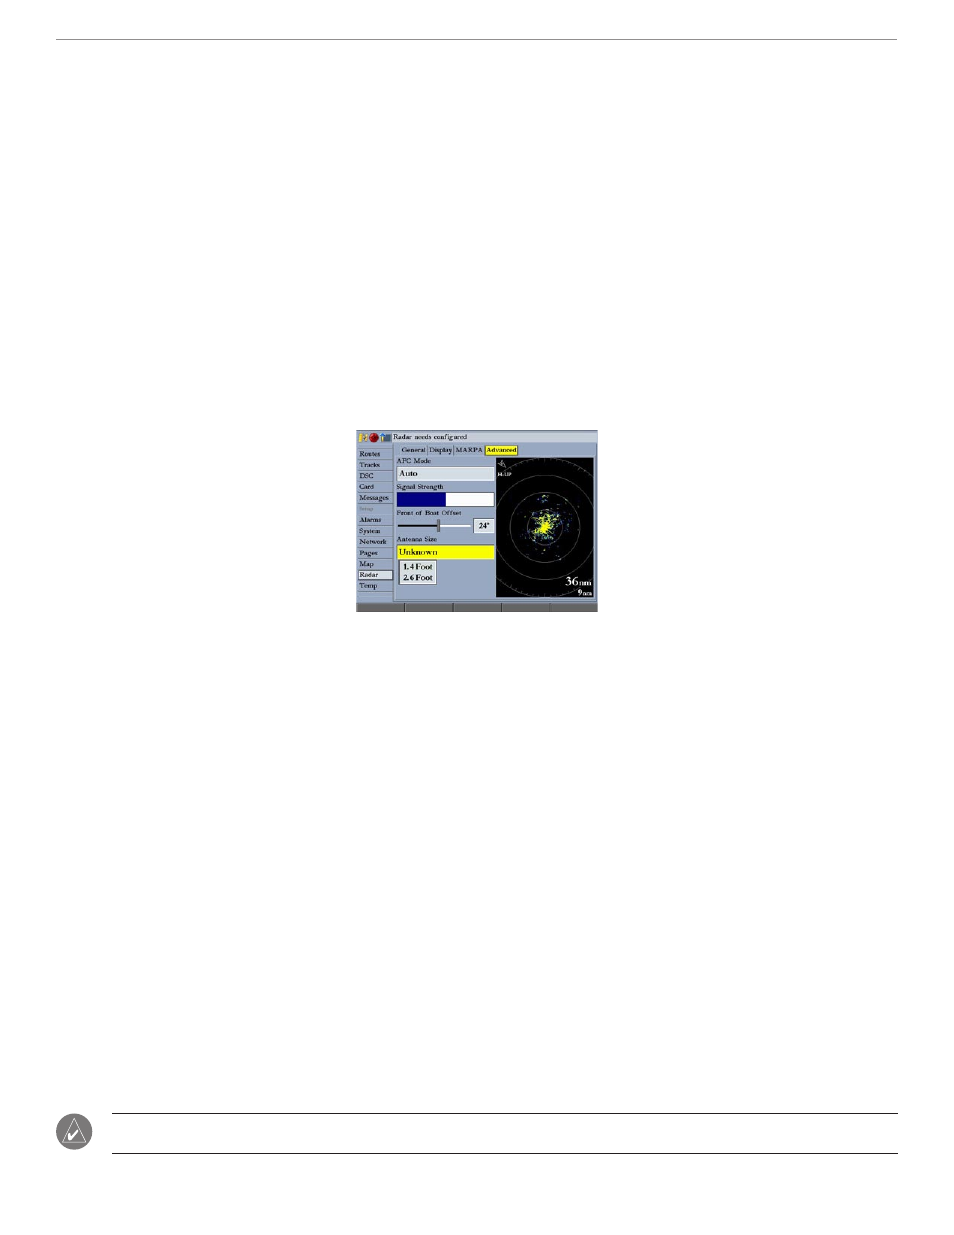
Configure the Radar:
1. From the Map Page, press
QUIT to clear the message “Radar Needs Configured” and show the Radar Setup Page.
2. Using the
ROCKER, highlight the Advanced tab, then the Antenna Size field, and press ENTER.
3. Select the correct antenna size,
4 foot or 6 foot, and press ENTER.
4. When prompted, press and hold
FCTN to begin radar transmission. Before beginning radar transmission, verify that the area around the
scanner is clear. Microwave energy can be harmful to humans and animals. While the radar is transmitting, avoid looking directly at the
scanner. The eyes are the most sensitive part of the body to microwave radiation.
Select Antenna Size
Front of Boat Offset
Depending on the scanner installation, it may be necessary to adjust the Front of Boat Offset. If the scanner installation requires a 180° offset,
change the Front of Boat Offset to 180° and test the radar. If the Front of Boat Offset needs further adjustment, continue with the procedure below.
Using a magnetic compass, take an optical bearing of a stationary target located within viewable range. Measure the target bearing on the radar.
If the bearing deviation is more than +/- 1°, then do the following to correct the Front of Boat Offset.
To change the Front of Boat Offset:
1. From the Radar Page, press the
ADJ key to display the Adjustment Menu.
2. From the Adjustment Menu, select
Setup, and press ENTER. Using the Rocker, select the Advanced tab.
3. Using the
ROCKER, highlight the Front of Boat Offset slider, and press ENTER.
4. Press left on the
Rocker to adjust to a negative value, or press right to adjust to a positive value. The preview window changes as you
adjust the slider.
5. After an offset is determined, press
ENTER to save, and press QUIT to return to the Radar Page. Your new Garmin Marine Radar is now
ready to use! Refer to your chartplotter's Owner’s Manual for details about operating the radar.
Stopping the Radar
When you enter standby mode, the antenna will stop spinning, but the magnetron will remain charged. This means that the Radar can be quickly
turned on again without having to warm up.
To place the GMR 404/406 in Standby mode:
1. From any page, press and hold the
FCTN key.
2. Using the
ROCKER, highlight Yes and press ENTER.
Note: When the radar is placed into standby mode, the GMR 404/406 antenna will reduce its spinning speed for approximately 15 seconds, then
stop perpendicular to the length of the boat, or as defined by the Front of Boat Offset.