GoVideo VR3930 User Manual
Page 19
CONNECTIONS & SETUP
19
Initial Setup (Continued)
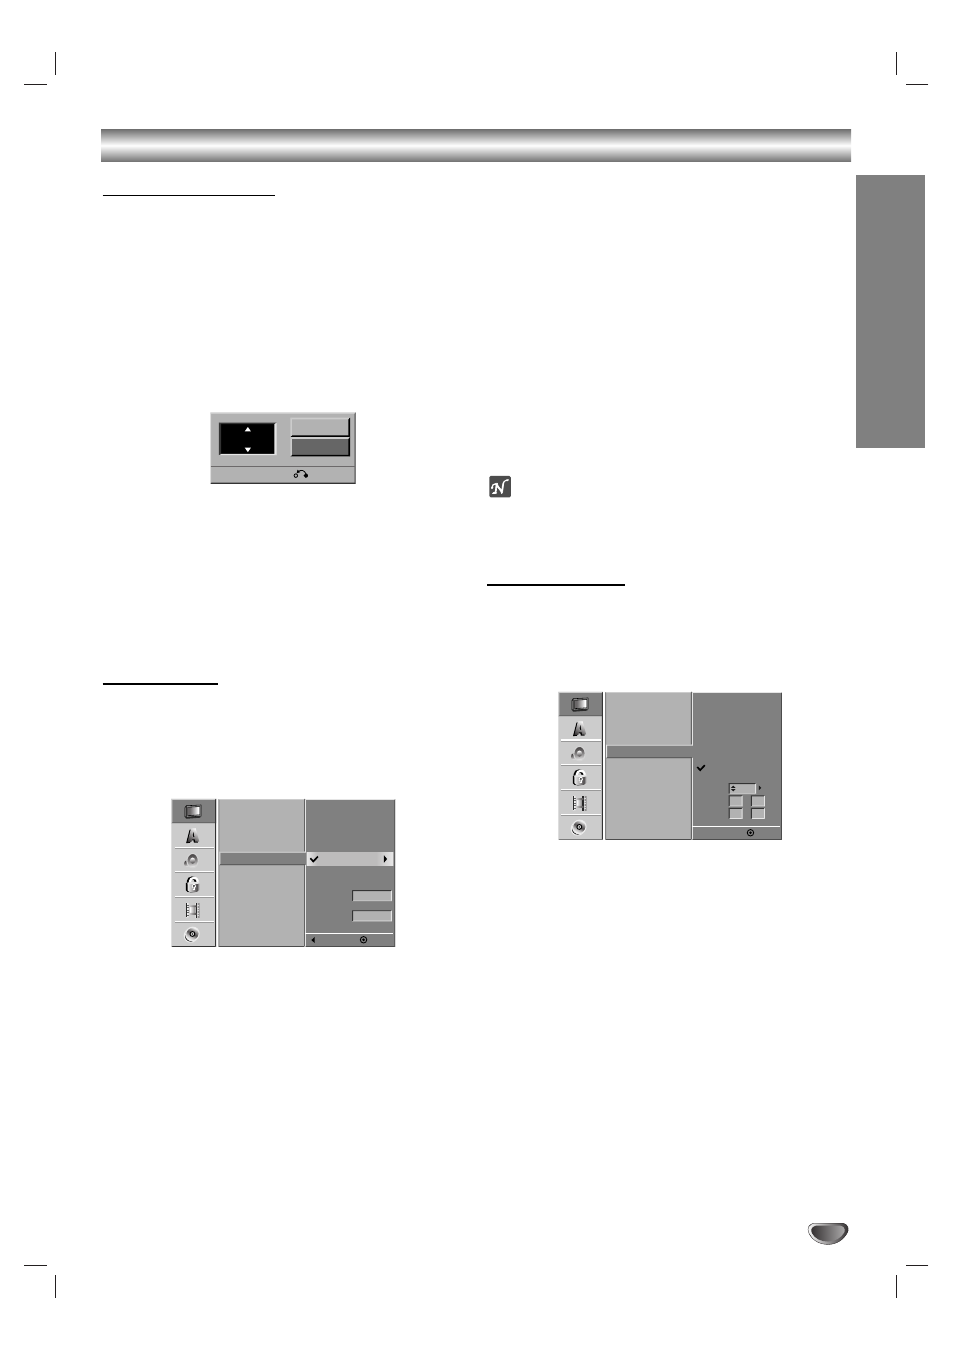
Channel Add/Delete
This feature allows you to manually add or delete chan-
nels from your channel list.
11
Follow steps 1-3 as shown under Auto Channel
Set.
2
2
Use v / V to select the CH. Add/Del option.
3
3
Press B to move to the third level.
The Edit icon is highlighted.
4
4
Press ENTER.
The Channel Edit menu appears.
5
5
Use v / V or 0-9 to select a channel to add or
delete then press ENTER.
The Add or Delete icon is highlighted.
6
6
Press ENTER to confirm your setting.
77
Repeat steps 5-6 to add or delete additional
channels.
Clock (Auto)
The DVD Recorder+VCR gives you two ways to set the
time and date: Auto or Manual. Auto is the default setting
and enables the DVD Recorder+VCR to set the clock
whenever the DVD Recorder+VCR is off or in Standby
mode.
11
Press SETUP.
The Setup menu appears.
2
2
Use v / V to select the General option.
3
3
While the General option is selected, press B to
move to the second level.
4
4
Use v / V to select the Clock option.
5
5
Press B to move to the third level.
6
6
Use v / V to select the Auto option then press
ENTER.
The Auto option is set at the factory. In the Auto option,
the DVD Recorder+VCR looks for a channel carrying XDS
(Extended Data Services) information. XDS updates the
clock using the Coordinated Universal Time.
77
Use v / V to choose your Time Zone.
You can set your local Time Zone manually. When Time
Zone is set to Auto, the DVD Recorder+VCR will use XDS
information to determine the proper setting.
8
8
Use B to choose the Daylight Saving option.
Use v / V to choose Auto, On, or Off.
You can turn Daylight Savings On or Off manually. When
set to Auto, the DVD Recorder+VCR will use XDS infor-
mation to determine the proper setting.
9
9
Press ENTER to confirm your setting, then
press SETUP to exit the Setup menu.
ote
If your local TV station does not send date and time informa-
tion, or sends incorrect information, you can set the clock man-
ually.
Clock (Manual)
11
Follow steps 1-5 as shown under Clock (Auto).
2
2
Use v / V to select the Manual option then
press ENTER.
3
3
Enter the necessary information for date and
time.
b / B (left/right): Moves the cursor to the previous
or next column.
v / V (up/down): Changes the setting at the current
cursor position.
4
4
Press ENTER to confirm your setting, then
press SETUP to exit the Setup menu.
Tuning Band
Auto Channel Set
CH. Add/Del
Clock
TV Aspect Ratio
Progressive Scan
Factory Setting
Time Zone
Manual
Auto
Auto
Daylight
Savings
Auto
Prev.
Select
Tuning Band
Auto Channel Set
CH. Add/Del
Clock
TV Aspect Ratio
Progressive Scan
Factory Setting
AM
Manual
Auto
Year
Date
Time
Select
12
2003
00
1
1
/
:
Ch. 2
Delete
Add
0-9 Input
Return