Frymaster GC User Manual
Page 19
3-3
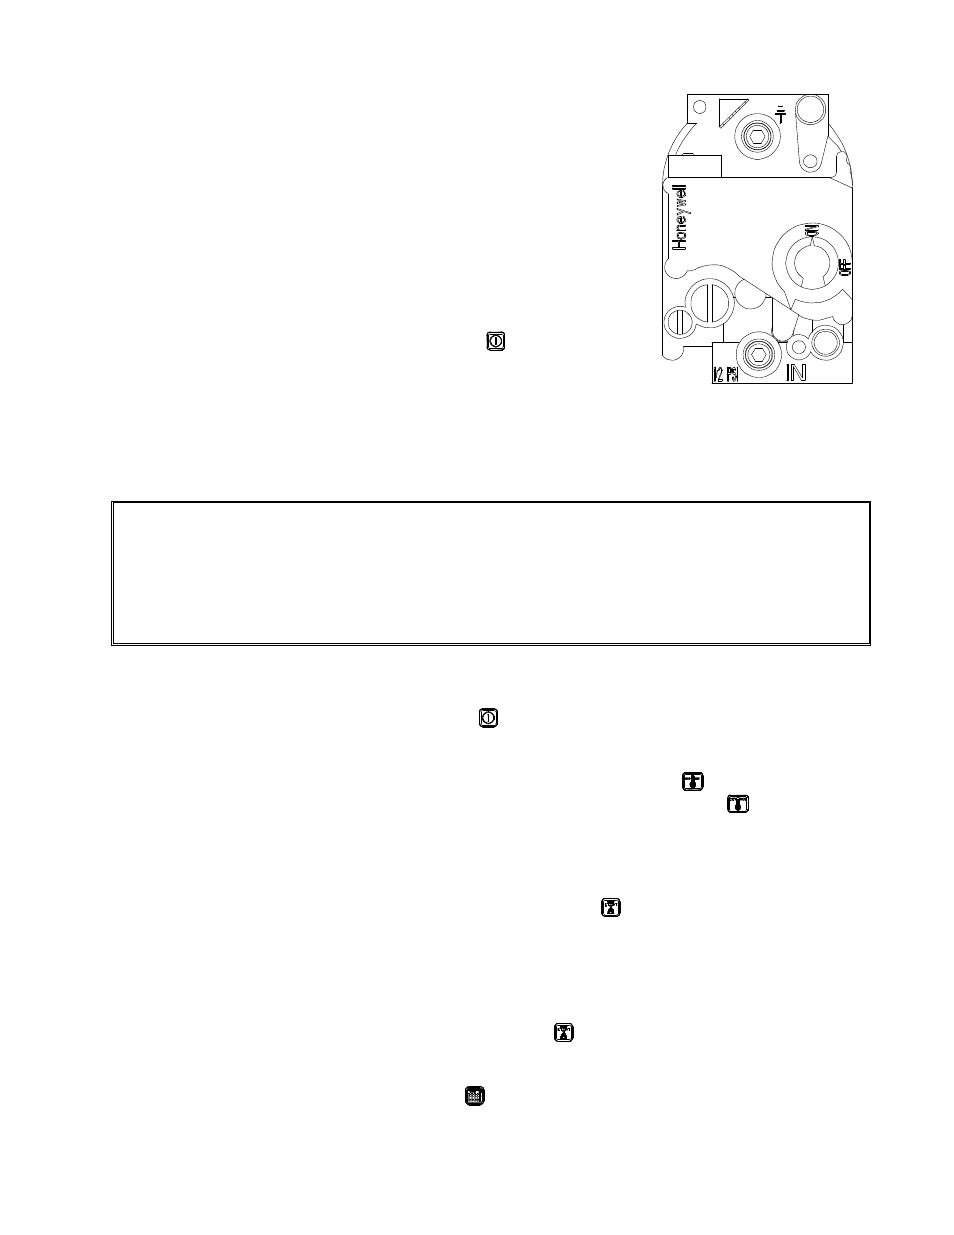
2. On Non-CE units, turn the gas valve knob to the ON position
(see illustration at right.) NOTE: CE gas valves do not have
an ON/OFF knob. These valves will activate automatically
when the controller power switch is placed in the ON position
and the lower water level sensor is covered with water.
The burners should light for several seconds and then go out. A
few seconds later they should light again. This cycle will repeat
about 10 times, at which time the burners should remain lit until
the setpoint is reached.
If the burners fail to light, press the power
switch to the
OFF position, wait 60 seconds, then repeat this step.
3. After the burners have been lit continuously for at least 90 seconds, observe the burners through
the burner viewports. They should display a bright orange-red glow. If a blue flame is observed,
or if there are dark spots on a burner face, the air gas mixture requires adjustment, as explained
below.
NOTE: Adjusting the Air/Gas Mixture:
On the side of the blower housing opposite the motor is a plate with one or two locking nuts.
Loosen the nut(s) enough to allow the plate to be moved, then adjust the position of the plate to
open or close the air intake opening until a bright orange-red glow. Carefully hold the plate in
position and tighten the lock nut(s).
3.2.2 Normal Operation
1. Turn the controller on by pressing the power
switch.
2. The unit will automatically enter the boil mode and the boil mode indicator will illuminate. If you
do not intend to immediately begin cooking, press the Simmer Mode
switch. The simmer
mode indicator will illuminate. To re-enter the boil mode, press the Boil Mode switch.
3. Enter the desired cooking time using the numeric keypad. The time entered appears in the LED
display.
4. When ready to initiate a cooking cycle, press the Start Timer
switch. The basket lift (on units
so equipped) will automatically lower the basket or portion cups into the cookpot and the LED
display will begin to count down. At the end of the cooking cycle, an alarm will sound briefly to
alert you and the basket lift will automatically raise the basket or portion cups out of the water.
The display will automatically return to the previously set cooking time. If the same time is
desired for the next batch, simply press the Start Timer
switch when ready, otherwise enter the
new cooking time before pressing the switch.
5. To initiate the skim feature, press the Skim
switch.