RISCO Group ProSYS™ PTM User Manual
Page 2
Page
2
5. Remove the PTM from J1.
6. Position the J9 jumper on one of the pins.
7. The PTM now contains a copy of the Main Panel’s configuration.
To load the Program Transfer module’s stored configuration into a WisDom:
1. Position the PTM on J1 located on the PCB of the back panel with the red LED FACING AWAY from
the row of terminals (See Fig 1). The red LED flashes slowly.
2. Remove the J9 default jumper from its position (located next to the tamper switch on the PCB of the
front panel) on one pin and position it on both of the two pins.
3. Momentarily remove the AC power from the WisDom.
4. Restore power to the WisDom. After a moment, the LED on the Program Transfer Module flashes
rapidly, indicating that the information is being copied from the PTM to the WisDom system. The LCD
keypad will display a blank screen.
When the LED stops flashing rapidly, the WisDom beeps, and its display returns to the normal operation
mode display.
5. Remove the PTM from J1.
6. Position J9 on one of the pins.
7. Access the main Installer Programming menu by pressing
[9] [1]
from the regular operation
mode.
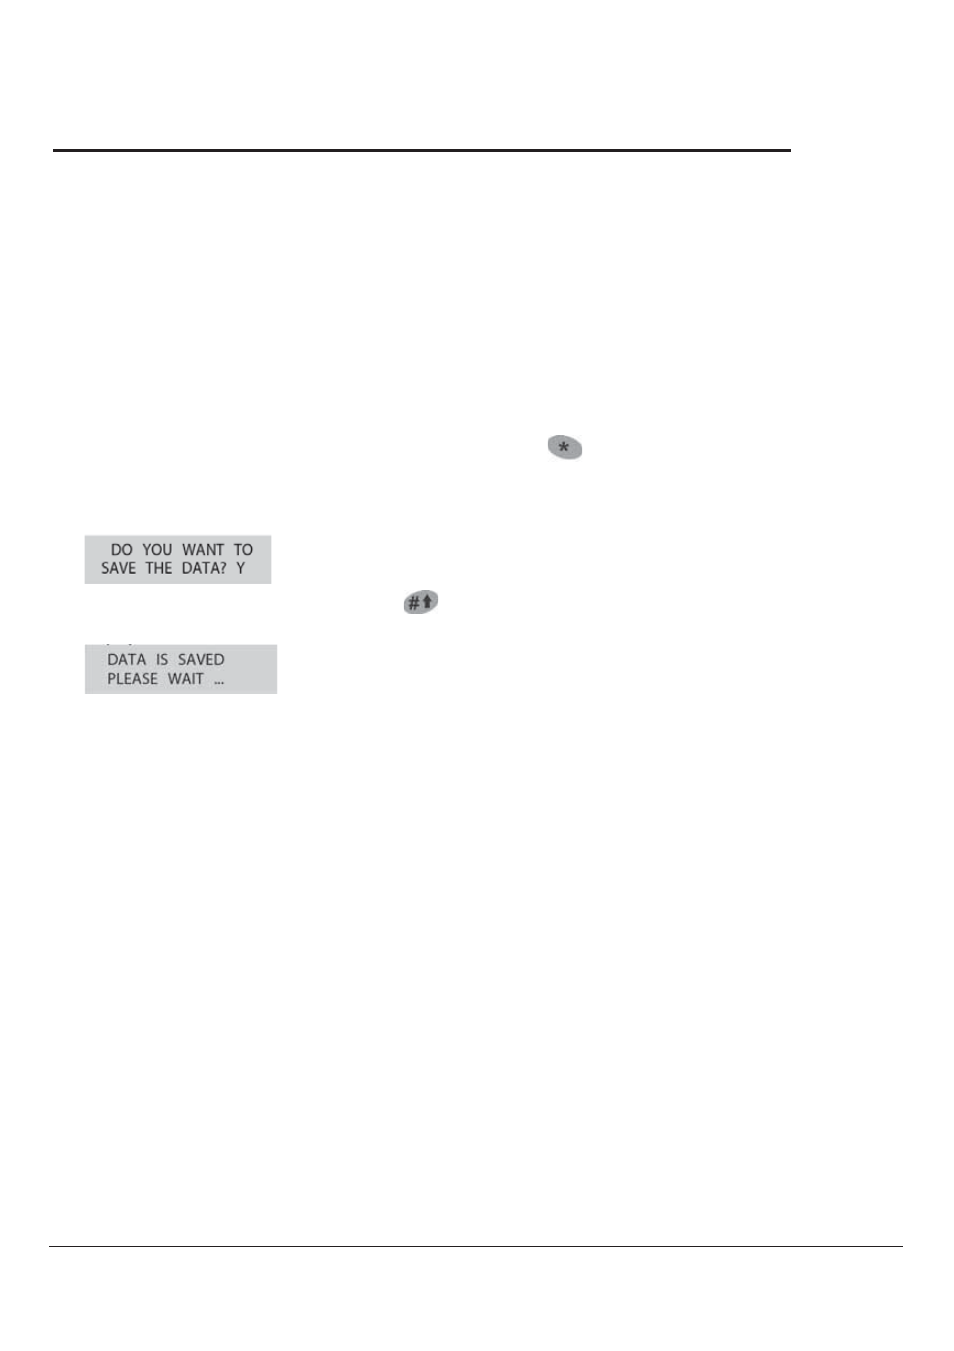
8. Without making any changes, exit the main Installer Programming menu by pressing [0]. The following
display appears:
9. Confirm saving the data by pressing the
key. A short beep will sound and the following message
is displayed:
Then the keypad returns to the normal operation mode display, and the WisDom’s configuration now
matches the PTM.
10. Reset its TIME and DATE, which were lost when power was removed. (Refer to the WisDom User’s
Manual).