Daily schedules – Interlogix DVR 41 User Manual User Manual
Page 97
9BChapter 10: Recording
TruVision DVR 41 User Manual
91
TL Time lapse (Green squares): Record of a specific day. Each green square in the timeline
represents an hour in the 24-hour period.
TL-Hi (Dark green): High quality time lapse. Records high quality video.
TL-Lo (Bright green): Low quality time lapse. Records low quality video. This could be used,
for example, for night recordings when few events or alarms are expected. Saving the
video in low quality helps save resources on the HDD.
Event (Yellow): Records only events, such as motion detection and POS/ATM text insertion.
Alarm (Red): Records only alarms.
None (Grey): No recording during this period.
5. Timeline. There is a 24-hour time line for each day. Up to eight recording periods can be
scheduled during the 24-hour period.
Daily schedules
To set up a daily recording schedule:
1. Click the
Video Schedule
icon in the menu toolbar and select S
chedule
.
2. Select a camera.
3. Check the
Enable Schedule
box.
4. Click
Edit
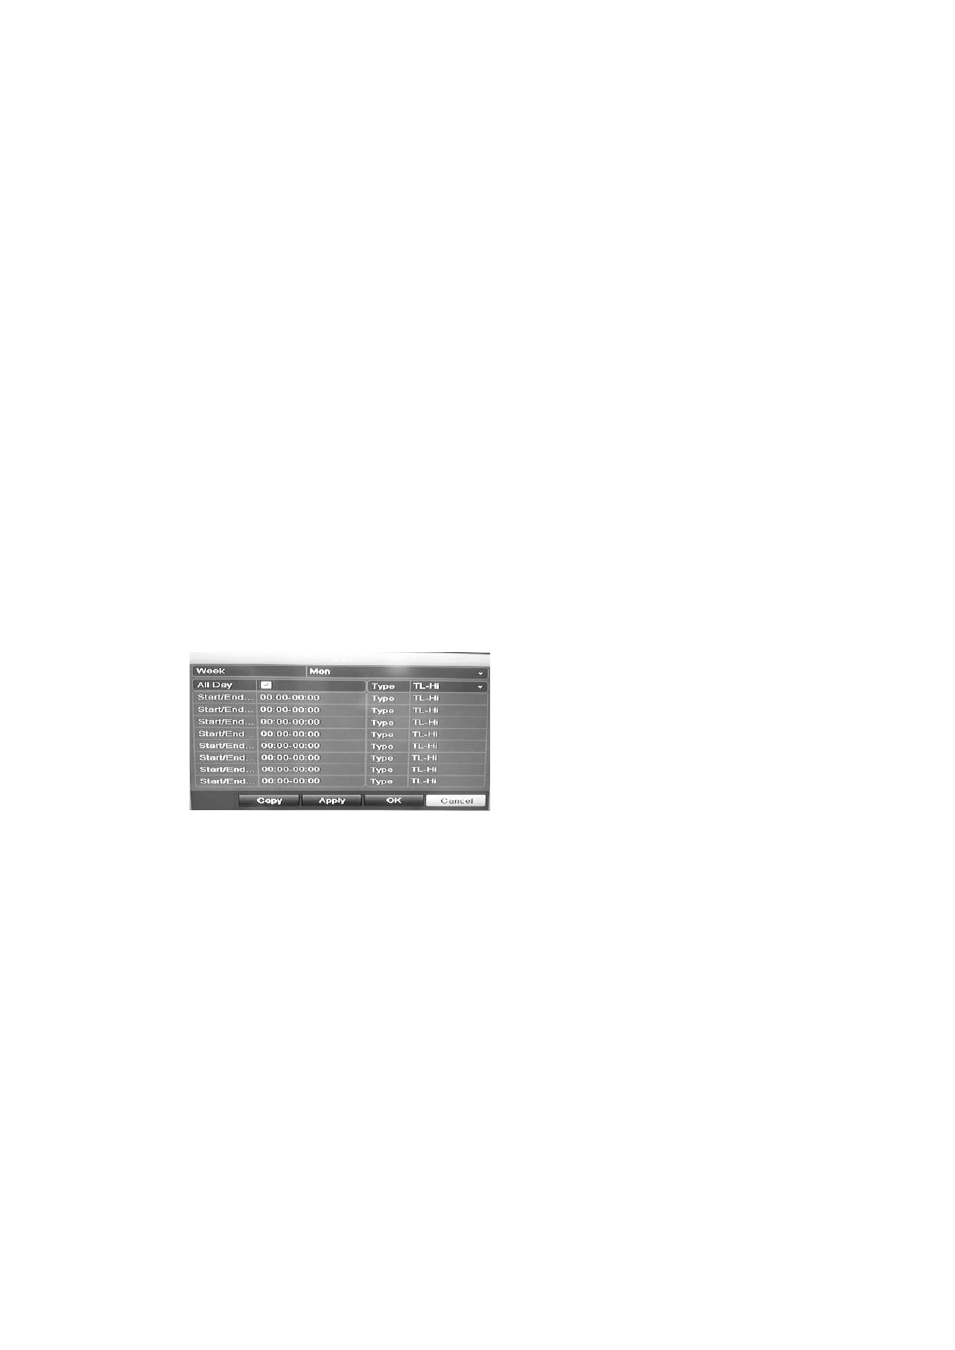
. The following screen is displayed:
5. Select the day of the week for which you want to set up the schedule. You
can define a schedule for each day of the week.
Check
All Day
to select the whole week.
6. Set the start and end time for recording.
Define a time period by entering a start (left column) and end (right column)
time. You can schedule up to eight time periods. Click All Day to record all
day.
Note
: The time periods defined cannot overlap.
7. Select a recording type.
This setting instructs the DVR to begin recording when an alarm is triggered.
The recording type can be based on time and triggered by motion detection
and/or an alarm. If set to TimeLapse (TL-Hi or TL-Lo), the DVR records
continuously.
8. Click
Apply
to save settings.