Hookup 4: vcr setup, You are now ready to use your vcr, You can skip this step – Sony SLV-640HF User Manual
Page 15: Set the a/b switch to "a, Easyzsetzqp
Attention! The text in this document has been recognized automatically. To view the original document, you can use the "Original mode".
Hookup 4: VCR setup
1
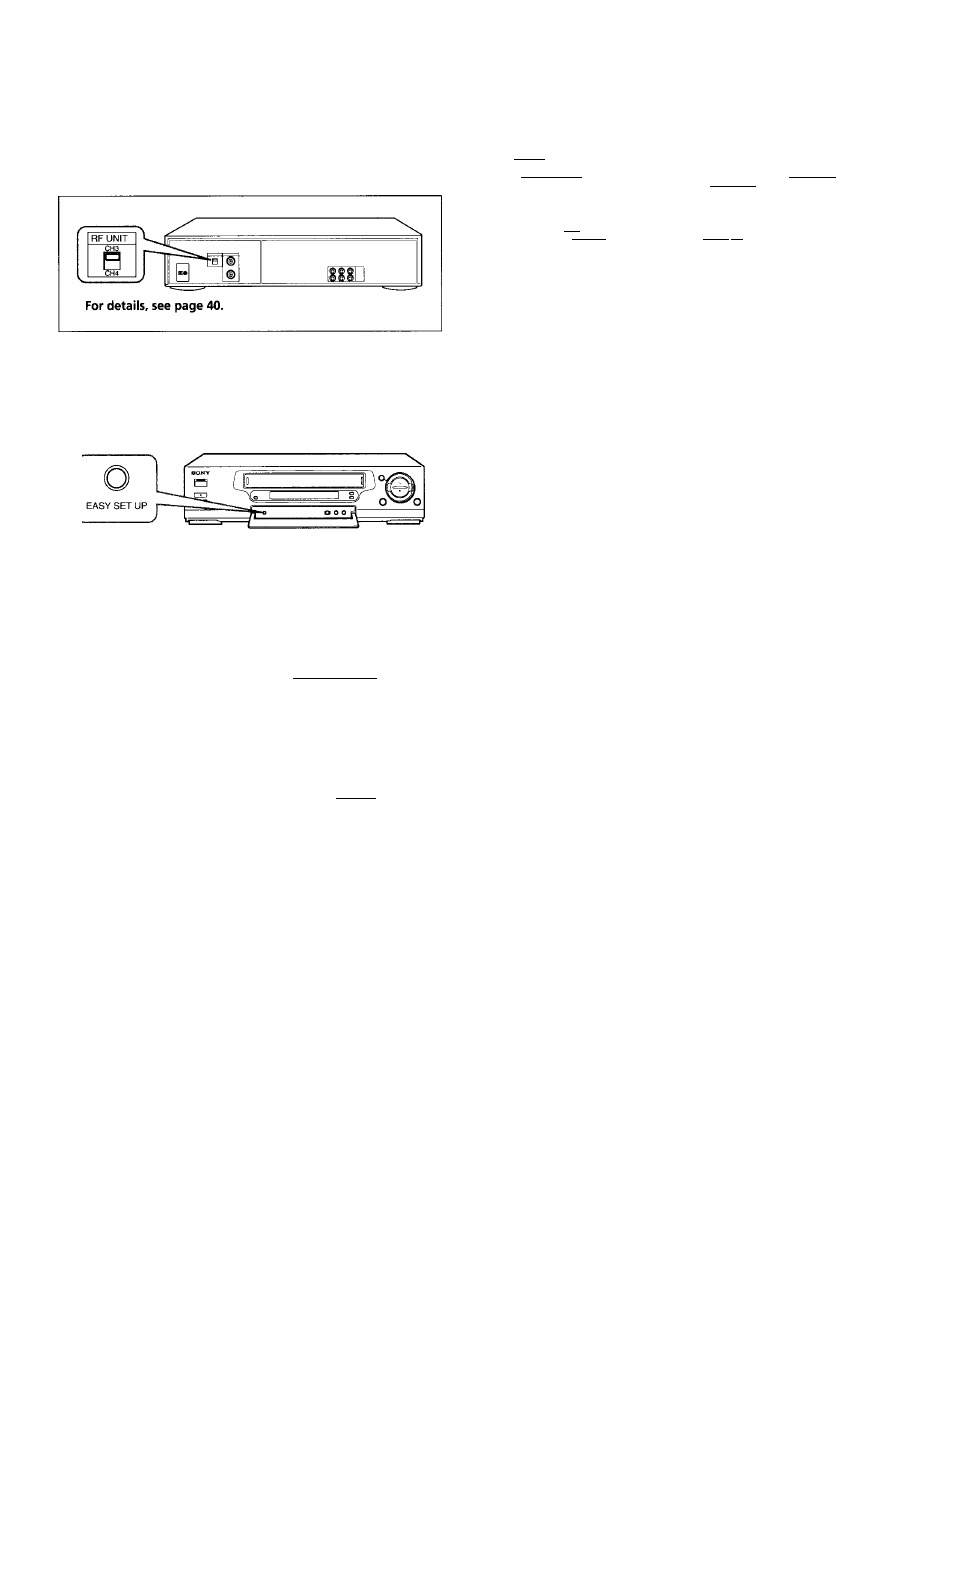
Set the RF UNIT switch to CH 3 or CH 4, whichever
channel is not used in your area. If both are used, set
the switch to either channel.
If you made A/V connections (from page
7),
you can
skip this step.
2
Set the A/B switch to "A."
3
Press EASY SET UP on the VCR.
The SET UP menu appears.
(Canadian model only)
The LANGUAGE menu appears. Change the on-screen
language to French (FRANÇAIS) if desired, and press
EXECUTE.
For details, see page 16.
B The CLOCK SET menu
appears. Set the MONTH,
DAY, YEAR, HOUR and
MINUTES and press
EXECUTE,
For details, see page 17.
B The TUNER PRESET menu
appears. Set ANTENNA/
CABLE to CABLE and
press EXECUTE.
For details, see page 18.
Q The AUTO PRESET starts.
For details, see page 18.
17/1 / 1995 SAT 3 : OOllll
Use
*
0
select
current MONTH
Then,push@to
set
DAY
ANTENNA/CABLE
I
ANT \Qm\ÆÎ
Usel^^lt o select
Then push I EXECUTE!
Push
[EASYZSETZQP]
to quit
AUTO PRESET
Please wait
Normal display
BSI
SET UP is done
4
Preset the cable box output channel (usually 2,3, or
4).
Press MENU and select
TUNER PRESET.
Set MANUAL SET to ADD
and press EXECUTE.
BH8II
TIMER SET/CHECK
CLOCK SET
ADVANCED OPTIONS
Use 55 to sel ect an
item, then push [EXECUTE!
ANTENNA
/
CABLElÂNÏ^
[Gm£.\
AUTO PRESET
AFT
F I NE TUN ING
Select CH wi t h 10-9| Push
lENTERI.f^^ to ADD/ERASE
s.
For details, see page 18.
You are now ready to use your VCR
A Quick reference to operations is provided on the
back cover to help you quickly enjoy the basic
functions. These procedures differ slightly depending
on the hookup used. Make a note of which hookup you
used (Hookup 4) so that you can always follow the
correct instructions.
Getting Started
15