Vortex Optics PRO GT TRIPOD KIT User Manual
Page 2
©Vortex Optics USA 2009
K
Extending the leg length
Each tripod leg has three sections with padding on two of the upper section leg sections
(M). To extend the legs, release a flip-lever lock (O) and slide the leg section out to the
desired length. Press the flip-lever back down to lock a section in place.
Warranty and Service
This product is warranted to be
free of defects in materials and
workmanship for three years
after purchase. Vortex Optics
will repair or replace such
product or part thereof that,
upon our inspection, is found
to be defective in materials or
workmanship.
If you need assistance using your
tripod, please contact:
Vortex Optics
2120 West Greenview Drive
Middleton, WI 53562
800-426-0048
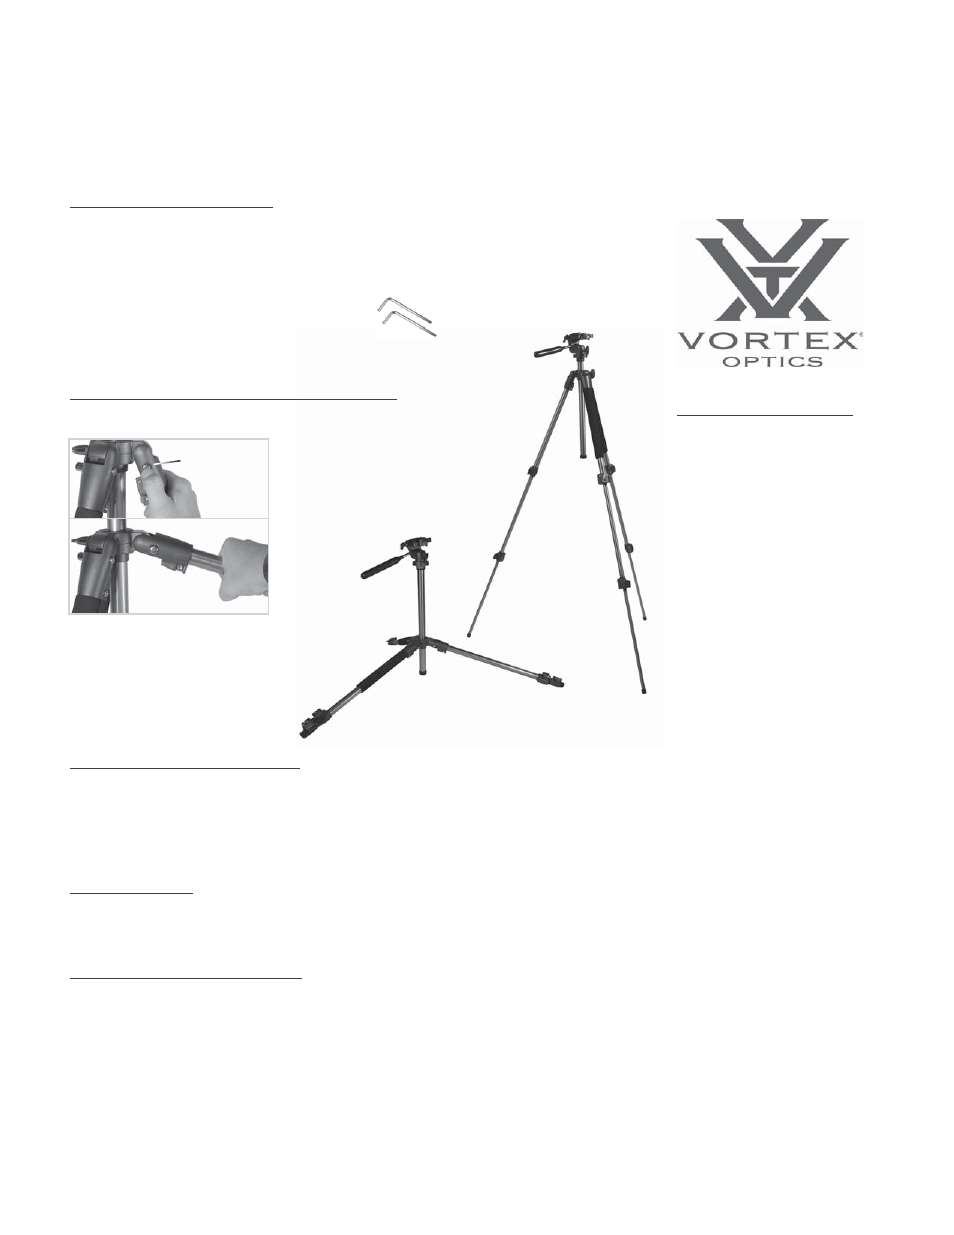
Adjusting the variable leg angle spread
Adjust the tripod leg angles for ease of use in various scenarios. Push
in on the leg release button (K)
and lift the leg upward, setting it
at one of the three available angles.
Repeat with other legs as needed.
Adjusting the center column
Change the position of the center column (N) to gain additional height. Unlock the center
column by turning the thumbscrew (L) in a counter-clockwise direction. Maneuver the
center column to the desired height and lock in place by turning the thumbscrew in a
clockwise direction.
Using the level
Use the leveling bubble on the panhead (C) to gauge your alignment and allow for optimum
viewing and photography. The tripod will be level when the bubble is within the black circle.
The legs on the STX tripod
can be independently
adjusted to one of three
viewing positions.
Wrench set included.
Note:
To adjust tension on the leg lock,
release the flip-lever lock and tighten the
lever screw with an Allen wrench.
Adjusting the Camera Angle
The Pro GT tripod allows you to move the plate platform (I) for more convenient photography. Change your
camera position from a landscape to portrait format by turning the platform adjustment thumbscrew (B)
counter-clockwise, then flip the platform upright and turn the thumbscrew clockwise to lock the angle.