Setting the time data, Setting the user’s bit – Panasonic AG-DVX100 P User Manual
Page 32
32
Setting the time data
Setting the user’s bit
By setting the user’s bit, memos (dates, times)
and other information consisting of up to 8 digits
in hexadecimal notation can be recorded on the
sub-code track. The user’s bit settings are
automatically stored in the memory and retained
even after the power has been turned off.
1
Set the camera recorder’s POWER switch to
ON.
2
Select USER as the setting for the UB
MODE item on the setting menu
RECORDING SETUP screen.
O
For details on the menu operations, refer
to page 37.
:
F
I
R
S
T
R
E
C
T
C
H
P
R
E
S
E
T
T
C
P
R
E
S
E
T
H
–
–
–
–
H
U
U
S
S
E
E
R
R
T
T
I
I
M
M
E
E
D
D
A
A
T
T
E
E
T
T
C
C
G
G
F
F
R
R
M
M
.
.
R
R
A
A
T
T
E
E
U
B
P
R
E
S
E
T
H
–
–
–
–
;
PUSH MENU TO RETURN
U
UB
B M
MO
OD
DE
E
RECORDING SETUP
3
Tilt the OPERATION lever in the 4 direction
and move to the UB PRESET item.
:
F
I
R
S
T
R
E
C
T
C
H
P
R
E
S
E
T
T
C
P
R
E
S
E
T
H
–
–
–
–
U
B
M
O
D
E
H
U
S
E
R
H
–
–
–
–
–
–
–
–
Y
Y
E
E
S
S
;
PUSH MENU TO RETURN
U
UB
B P
PR
RE
ES
SE
ET
T
RECORDING SETUP
4
Press “;” of the OPERATION lever, and
move “1” to YES.
:
F
I
R
S
T
R
E
C
T
C
H
P
R
E
S
E
T
T
C
P
R
E
S
E
T
H
–
–
–
–
U
B
M
O
D
E
H
U
S
E
R
–
–
–
–
–
–
–
–
HY
Y
E
E
S
S
;
PUSH MENU TO RETURN
U
UB
B P
PR
RE
ES
SE
ET
T
RECORDING SETUP
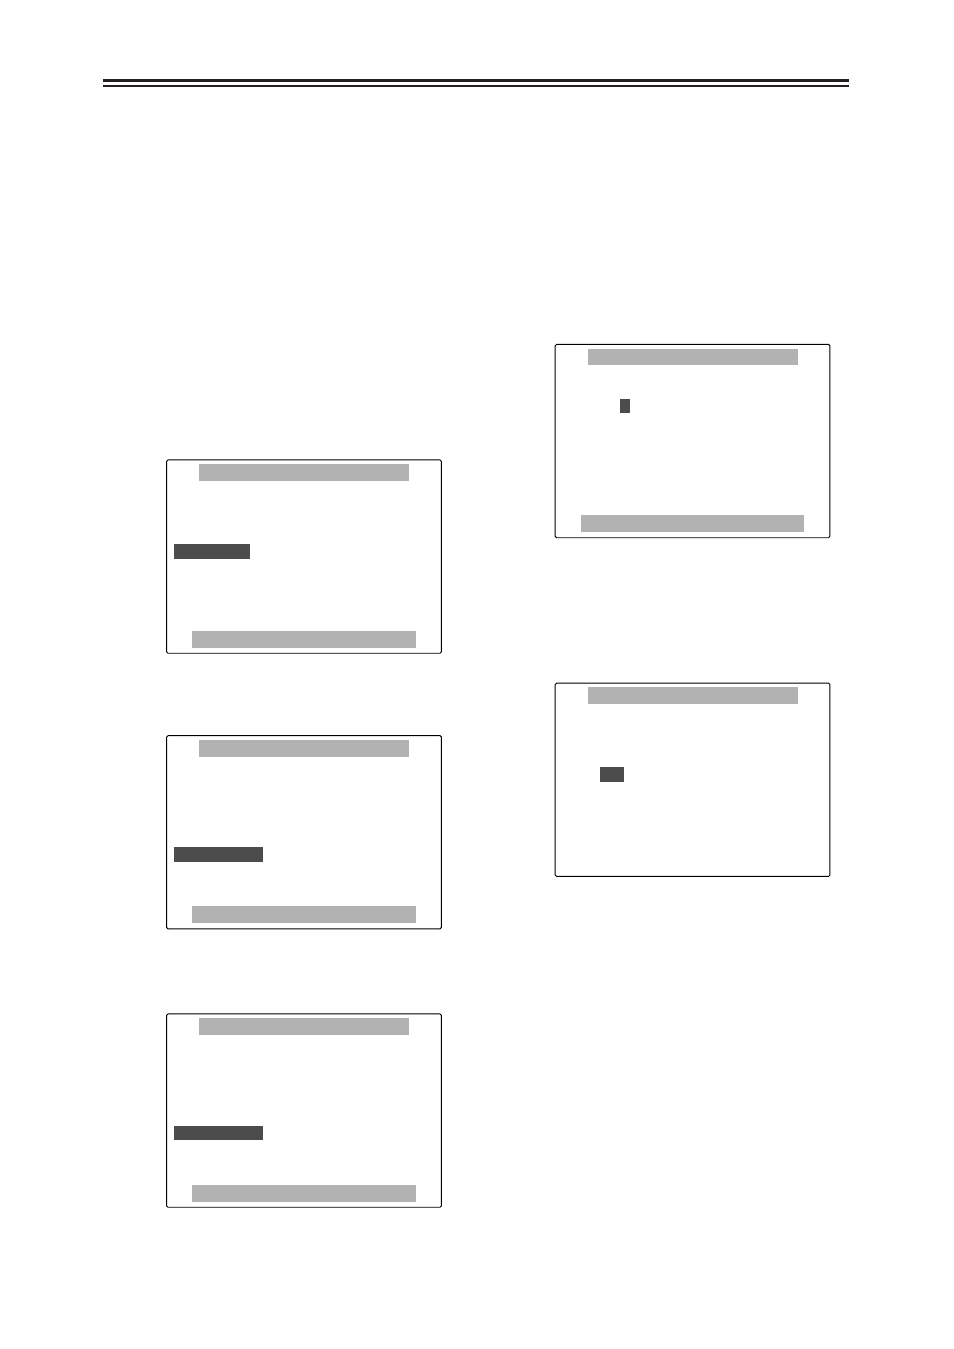
5
The screen shown below appears. Set the
user’s bit using the OPERATION lever.
Tilt the OPERATION lever in the 3 or 4
direction, select the user’s bit characters,
press “;” of the OPERATION lever, and
move to the next digit.
O
The numbers 0 to 9 and letters A to F can
be used as the user’s bit characters.
O
When the COUNTER RESET button is
pressed on the screen shown below, the
user’s bit is reset to zero.
0
0
0
0
0
0
0
+
:
P
U
S
H
P
L
A
Y
–
:
P
U
S
H
S
T
O
P
S
E
L
:
P
U
S
H
S
T
I
L
L
PUSH MENU TO RETURN
0
UB PRESET
P
R
E
S
E
T
O
K
?
–
–
–
. PUSH STILL
Y
E
S
N
N
O
O
UB PRESET
6
Upon completion of the user’s bit setting,
press the MENU button. The screen shown
below appears. Tilt the OPERATION lever
in the 4 direction, select YES, and press
“;” of the OPERATION lever.
7
Press the MENU button twice to release the
menu mode.