Voice recording and playback – Slick MP316CB-2 User Manual
Page 7
6
9
● Tempo rate: Set the music playing rate. Use the [◄ ] or [ ►] button to select:
-8, -7, -6, -5, -4, -3, -2, -1, 0, 1, 2, 3, 4, 5, 6, 7, 8.
● Favorite: Add or view songs to the “Favorite” playlist. Select “Add” to add the
current song to the “Favorite” playlist, or “View” to select songs that you have
previously strored to your “Favorite” playlist.
● Exit: Exit and return to the music playing mode.
Managing/deleting audio files
Manage or delete files and folders containing your music and voice recordings.
1. Press the [ ] button while a song or voice recording is in the “Stop” mode.
2. Use the [◄ ] or [ ►] button to select: Local folder, Delete file, Delete all,
or Exit.
3. Press the [ ►ІІ ] button to enter and confirm your selections.
● Local folder: View all audio files from the local folder. Use the [◄ ] or [ ►]
button to select an audio file or folder, and press the [ ►ІІ ] button to select the
file and enter the music playing mode.
● Delete file: Delete the current file. Use the [◄ ] or [ ►] button to select “YES”
or “NO”, and press the [ ►ІІ ] button to confirm.
● Delete all: Delete all files stored in the local folder. Use the [◄ ] or [ ►]
button to select “YES” or “NO”, and press the [ ►ІІ ] button to confirm.
● Exit: Exit and return to music mode.
Voice Recording and Playback
Recording
1. Select “Record” from the main menu, and press the [ ►ІІ ] button.
2. Press the [ ►ІІ ] button again to start recording.
While recording you can:
● Pause/Resume Recording: Press the [ ►ІІ ] button to pause or resume
recording.
● Save the Recording: Press and HOLD the [ ►ІІ ] button to save the recording.
● Main Menu: Press and HOLD the [ ►ІІ ] button to return to the main menu.
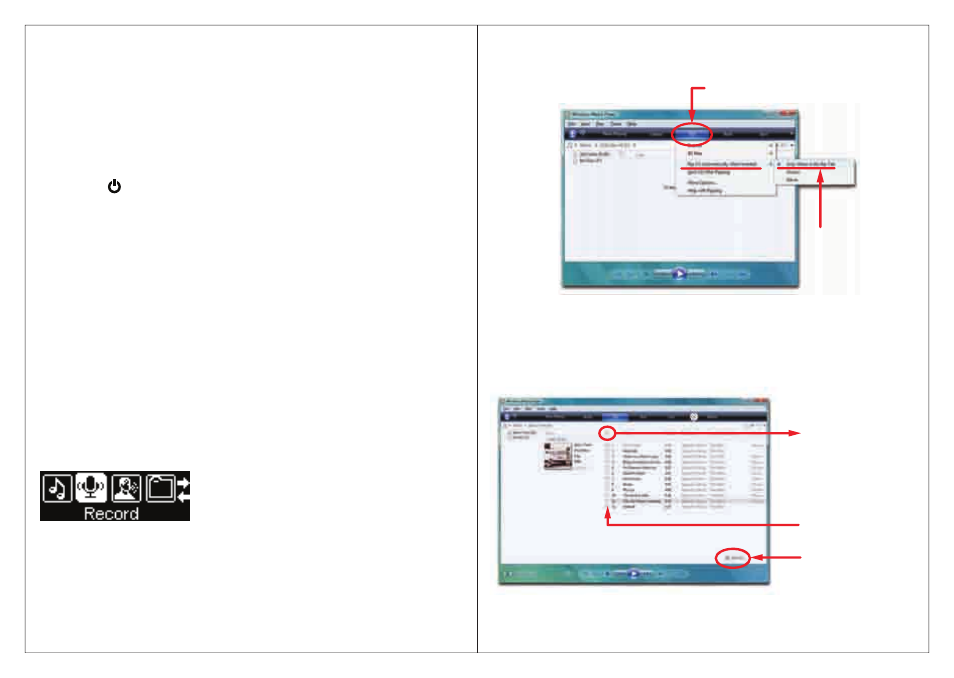
Getting music on your computer using Windows Media Player 11
1. Open Windows Media Player.
2. Click on the “Rip” tab.
3. Insert a music CD into the CD-ROM drive of your computer.
4. Click the check boxes to select which tracks to rip. If you would like to rip the
entire album, click the check box next to “Album”.
5. Cllick “Start Rip”.
Click “Rip” tab to start ripping
Default Setting
Click “Start Rip”
Select individual
tracks to rip
Check here to rip
entire album
Main Menu Screen
Select “Record”