Dragging, Calibrating the touch screen – FUJITSU Laptop User Manual
Page 27
19
G e t t i n g t o K n o w Y o u r L i f e B o o k
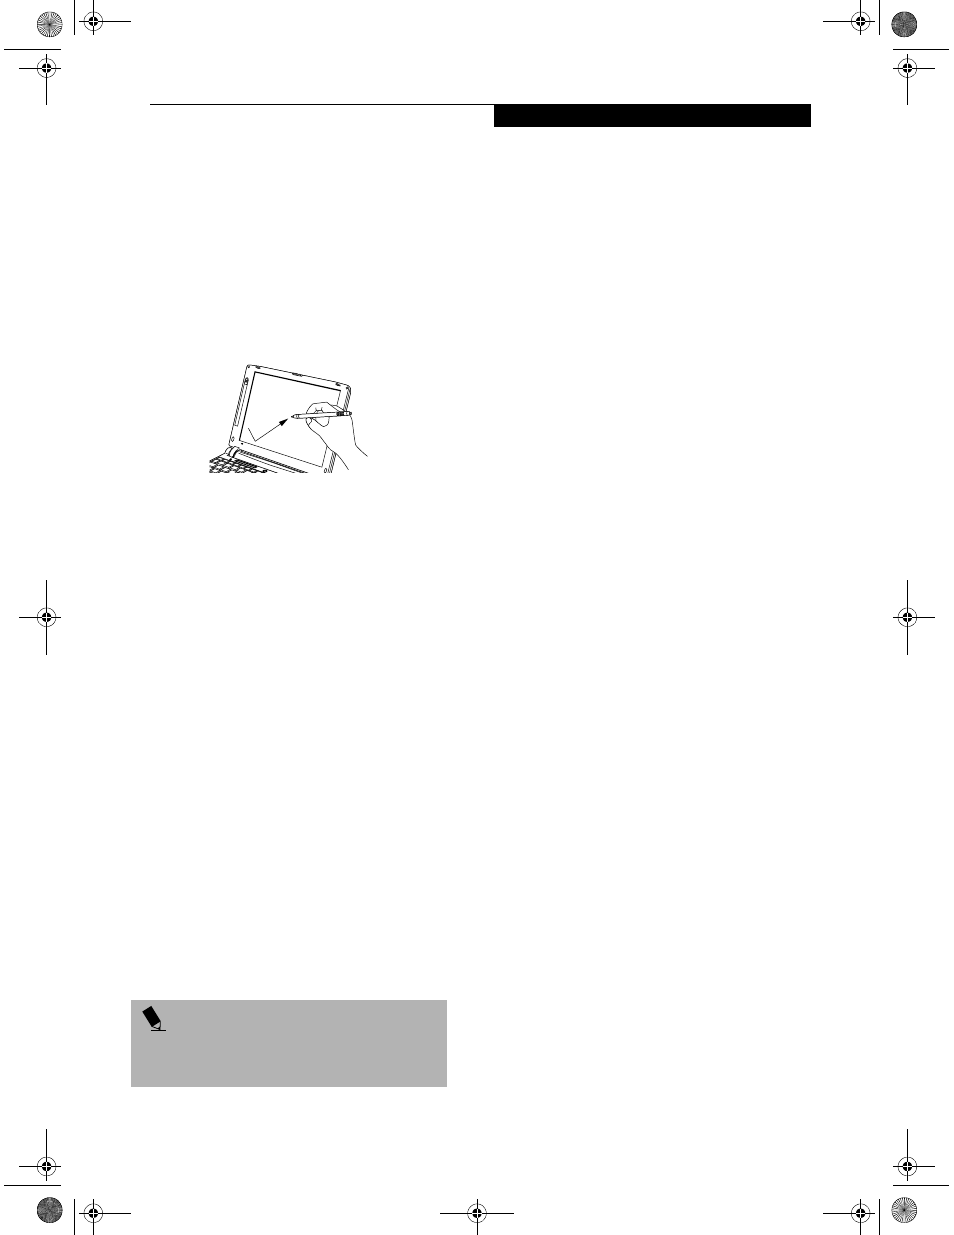
Dragging
Dragging means touching the screen with the stylus,
moving and then lifting the stylus. To drag, tap the
Touch Screen twice with your stylus over the item you
wish to move, making sure to leave your finger on the
screen after the final tap. Next, move the item to its new
location by moving the stylus across the screen, and then
lifting the stylus to release it. Dragging can also be done
using your fingertip. (Figure 2-19)
Figure 2-19 Dragging on the Touch Screen
Calibrating the Touch Screen
In order to ensure accurate tracking between the stylus
and cursor, you must run the Touch Screen Calibration
Utility before you use the Touch Screen for the first time,
or after you change the display resolution.
To run the calibration utility:
1. On the Start menu, point to Programs. Point
to Fujitsu Touch Panel/Compensation Tool. This
will
open the Compensation Tool.
2. Adjust the display of your LifeBook to a comfortable
angle and find the red + symbol in the upper-left
corner of the display.
3. Using the stylus, touch the screen near the + symbol
and without lifting the tip, move the stylus to the
center of the symbol. Once the stylus tip is in the
center of the symbol, lift it off the Touch Screen.
This will cause the red + to disappear from the
corner and reappear in a different place on
your screen.
4. Repeat step 3 until you have selected a total of nine
symbols. This is the minimum number of points
necessary to calibrate your touch screen.
5. Once you have selected the nine symbols, press the
[ENTER] key.
6. Touch the stylus to various points on the screen to
verify that the screen is correctly calibrated. If you
are satisfied with the screen’s calibration, press the
[ENTER] key. If you are not satisfied, press the
[HOME] key to begin again at Step 2.
P O I N T
If you receive an error message at this point, you
selected fewer than nine symbols. Click OK and
begin again at Step 2.
% 6HULHVERRN 3DJH 7XHVGD\ 2FWREHU $0