Toshiba E-STUDIO 3511 User Manual
Page 144
142
6.STORING ORIGINALS
2.SAVE AS FILE (Cont.)
6
4
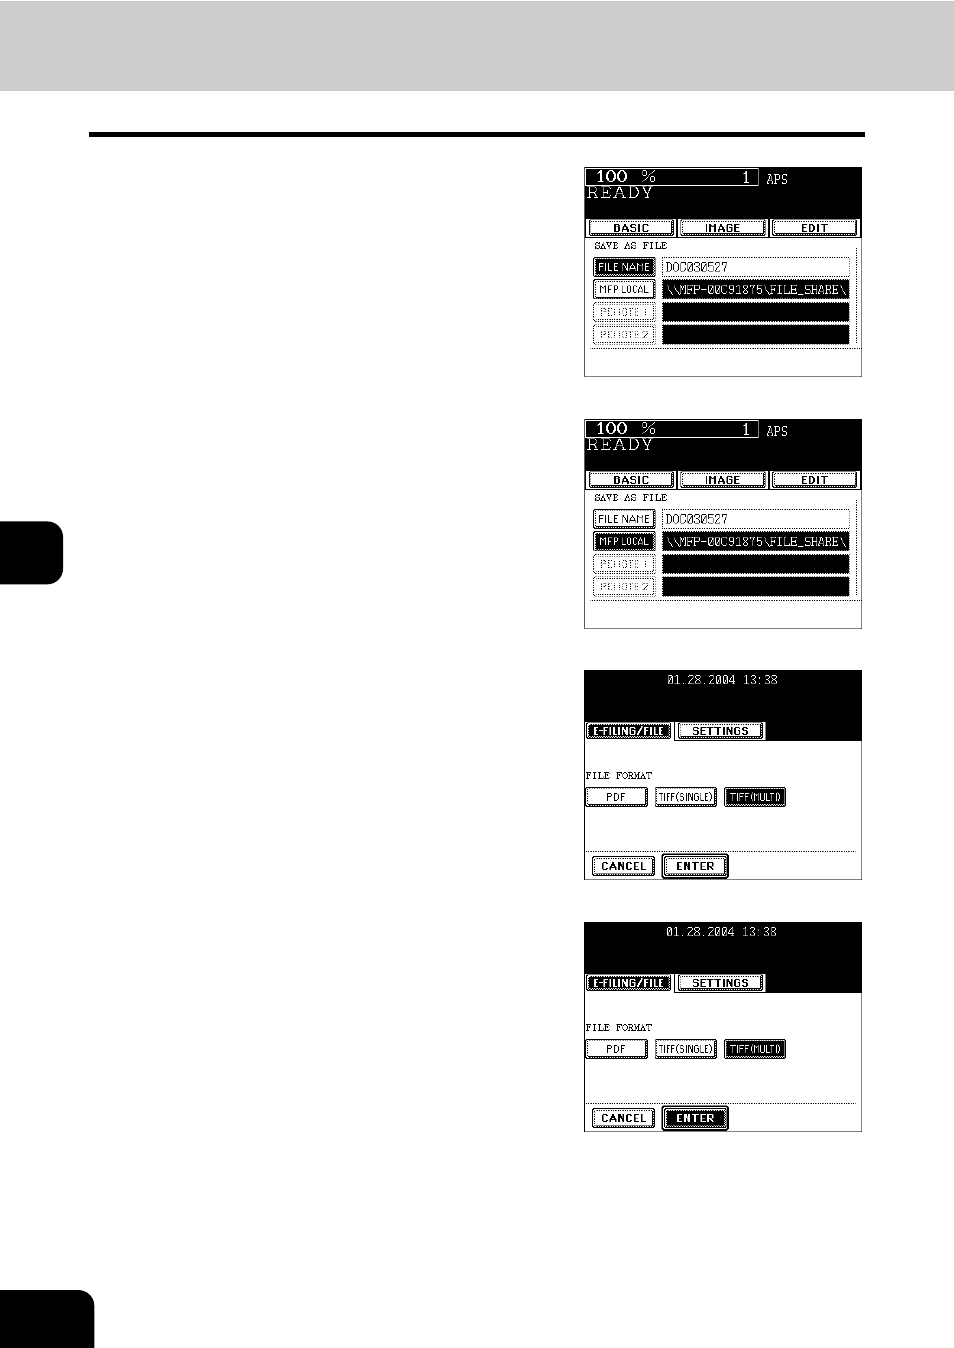
Press the [FILE NAME] button to enter the
file name of the stored data.
- The letter entry menu is displayed.
A file name can contain up to 64 letters.
5
Select the desired location.
- [MFP LOCAL]: Select when the originals should be stored in the
hard disk in the main equipment. The original data will be stored
under the directory path shown on the screen.
- [REMOTE 1], [REMOTE 2]: Select when the originals should be
stored in the hard disk of user's PC via server.
The administrator has to make settings to select “REMOTE 1” or
“REMOTE 2” using the TopAccess.
For details, see the [Network Administrator's Guide].
6
Select the desired file format.
- The SCAN folder is automatically created and the original data
will be stored into this folder. If you select “TIFF (SINGLE)”, an
additional folder with the name you entered in step 4 is further
created, and each page will be stored into this folder. You can
access the original data with the client PC via network, by opening
the FILE_SHARE folder in the equipment’s hard disk.
7
After all the settings have been made,
press the [ENTER] button.
8
Press the [START] button.